You probably have one of the best smartphones available in the market right now. But like any other electronic device, your iPhone can get damaged if you don’t take care of it. Whether you drop it on a hard surface or spill coffee on it – there are many ways in which your iPhone can suffer from physical damage.
A broken screen is perhaps one of the most common issues with an iPhone after some prolonged use. And if you have ever owned an older model, you know how frequent display problems were and how annoying they could get at times. Fortunately, this issue is not as widespread among users of newer iPhones simply because Apple has made significant improvements to its design and build quality over time.
If your Apple phone has been giving you trouble with its screen recently, read carefully our tips on repairing and replacing an iPhone 13 screen when necessary.
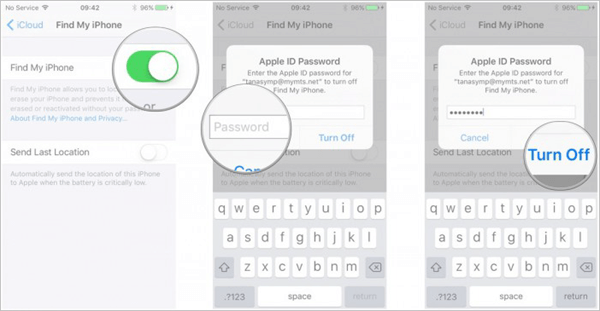
Disable Find My iPhone and Erase All Content and Settings Before Screen Replacement
Before you get your iPhone screen replaced, you’ll need to make sure your Find My iPhone and Erase all content and Settings are disabled. If these aren’t disabled, they will be locked after installation when the technician replaces your screen.
If this happens, you won’t be able to use the new screen until you manually unlock it following installation by tapping on the Lock icon in the status bar or entering the passcode.
To prevent this from happening:
- Go into Settings > iCloud > Find My iPhone > Toggle off Find My Phone 2)
- Then go back into Settings > General > Reset (or Erase All Content & Settings) with Touch ID & Passcode enabled
Some third-party screen does not work well with Face ID
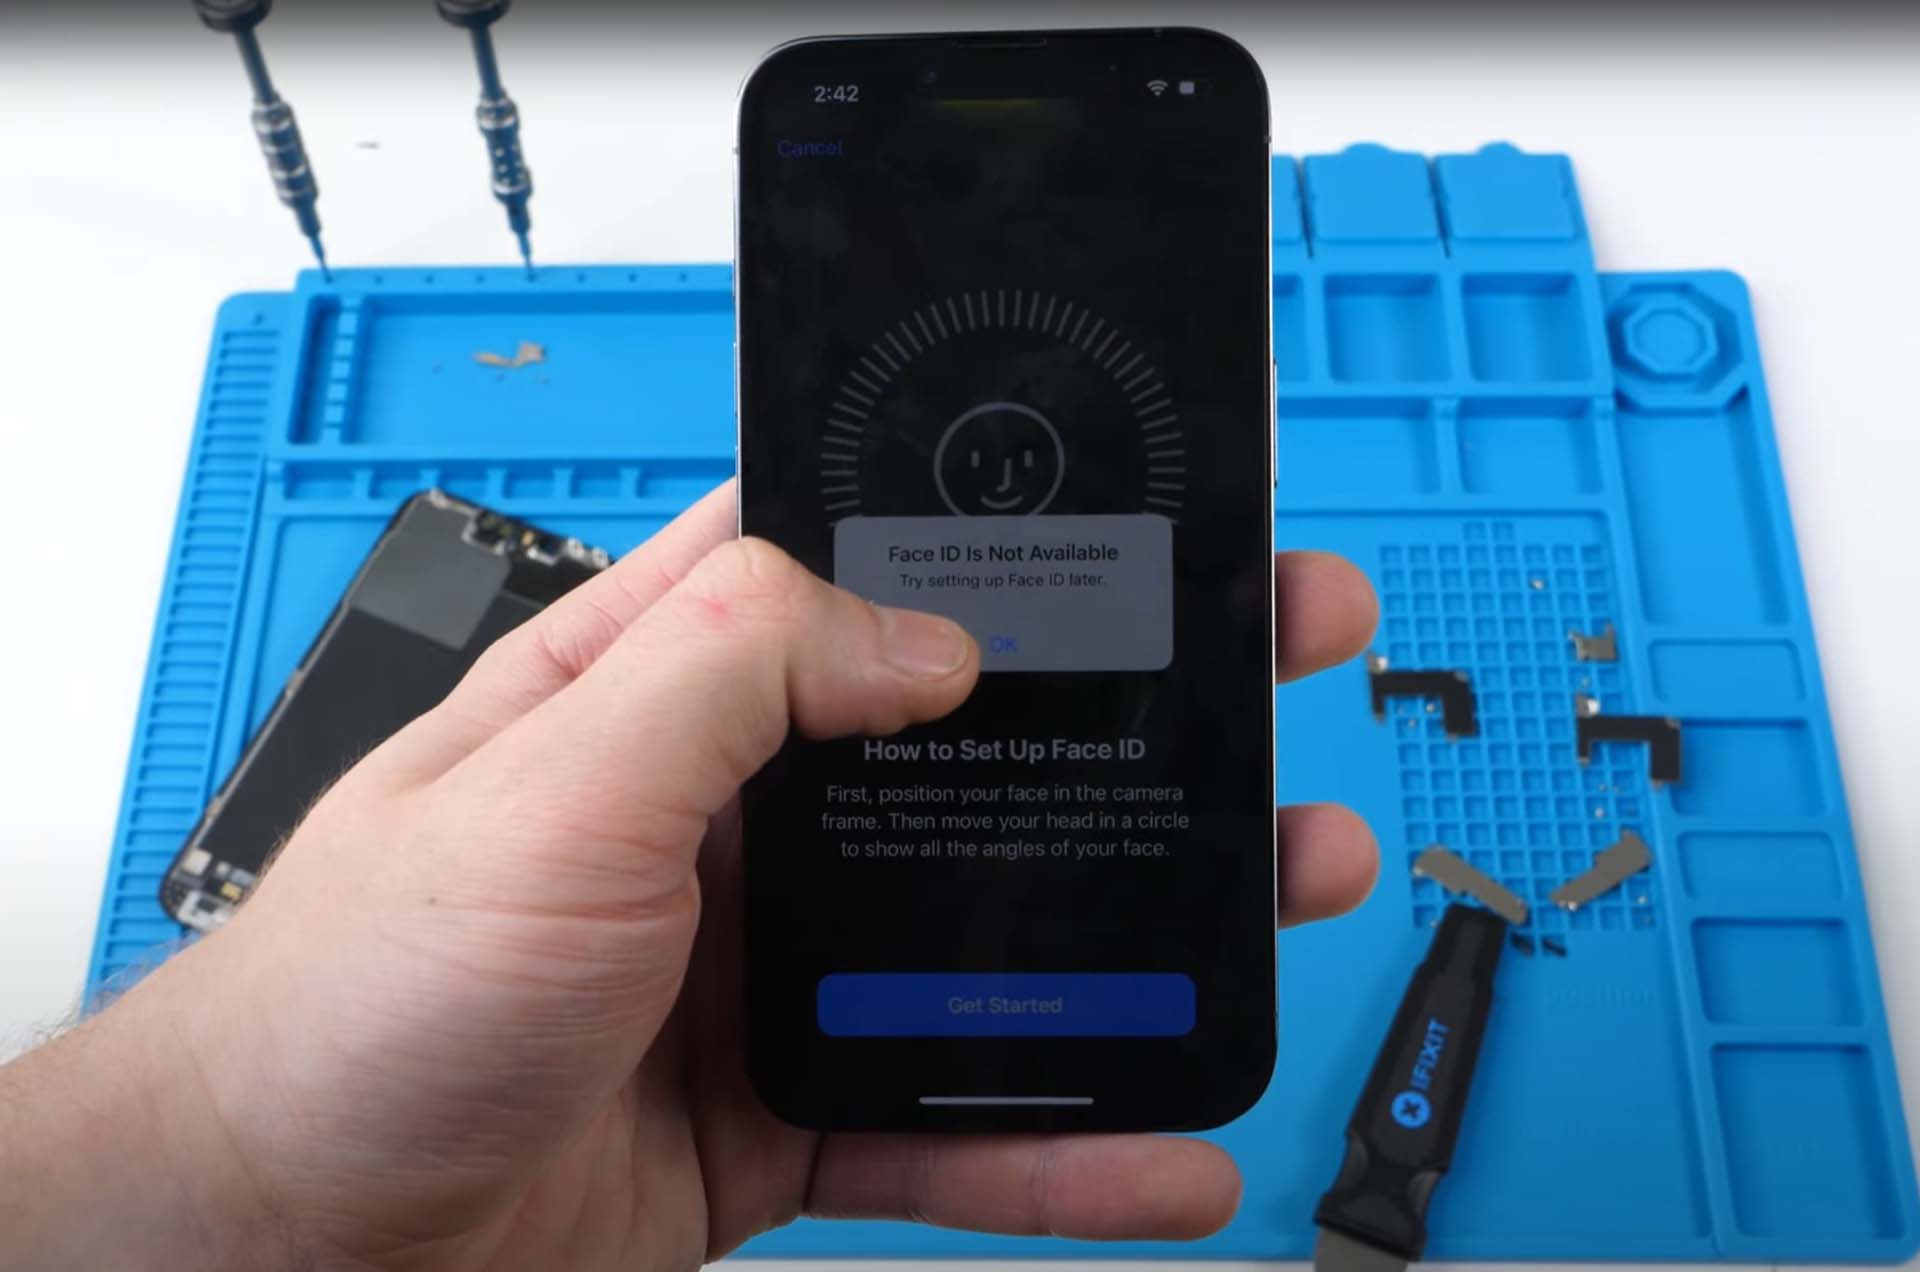
Some third-party screens does not work well with Face ID. If you have a third-party screen, your phone may not be able to recognize the owner’s face and unlock the device. Some third-party screens do not keep up with Apple’s quality, security, and reliability requirements.
If your iPhone is locked because of this reason, follow these steps:
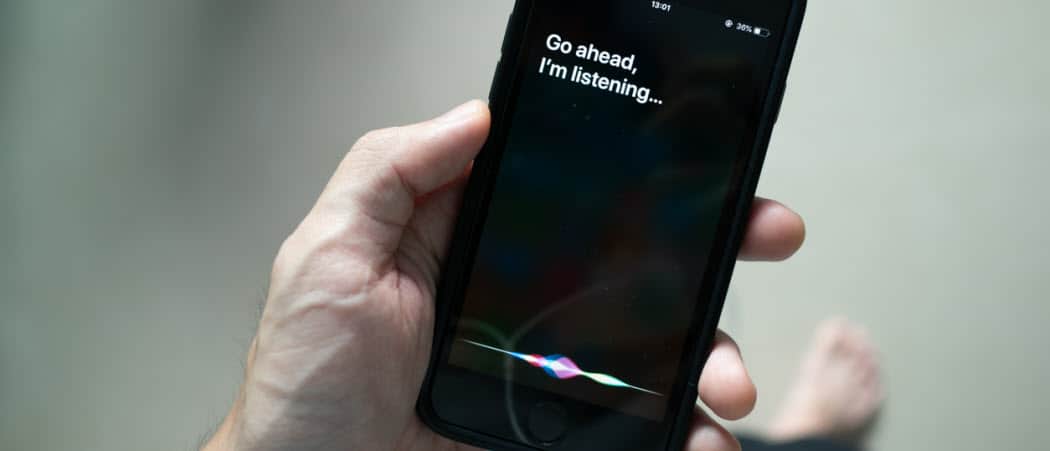
- Use Siri to ask, “who do I look like?” or “who am I?”
- Tap on the Face ID icon (a circle) on the bottom left corner of your lock screen
- Enter passcode if prompted
The new screen may contain incompatible parts
If your iPhone 13, iPhone 13 Pro or iPhone 13 Pro Max has been replaced recently, it might be that the new screen replacement parts are not compatible with Face ID. This can happen even if you bought them at a reputable shop. If you don’t know what used parts were in your phone’s repair, it may be worth contacting the retailer who sold them to ask if they were original Apple components or aftermarket ones.
Suppose you’ve had your device repaired by an expert, and they’ve replaced any part of the front assembly (screen), such as the Home button bracket or sensors that are part of Face ID functionality. In that case, this could also explain why Face ID isn’t working on your iPhone 13 after the screen replacement process.
Face ID calibration is needed
The first thing to do is calibrate Face ID.
To calibrate Face ID on your iPhone:
- Go to Settings > Face ID & Passcode, then enter your passcode if prompted.
- Set up an Alternate Appearance and follow the steps to create a new face for yourself in the Photos app on your device. You can now use this photo as an alternate appearance when setting up or using Face ID!
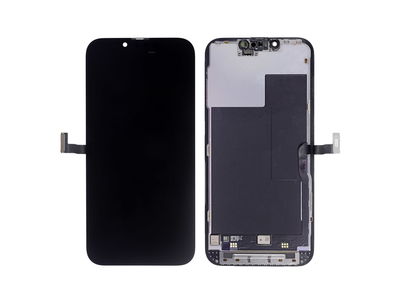
Software malfunctioning
If your iPhone or iPad’s Face ID is disabled and you’re unsure what’s causing it, there are some common causes. The first is hardware malfunctioning: if one of the components that helps power Face ID has failed, then there’s nothing you can do except take your phone in for repairs.
The second possibility is software malfunctioning. This is less common than hardware malfunctioning but still happens occasionally, especially if you’re using an older device with older apps that haven’t been updated in a while. Software malfunctioning may be caused by third-party apps (think banking apps), viruses or adware on your device, and lousy app updates—none of which will be fixed by replacing the screen.
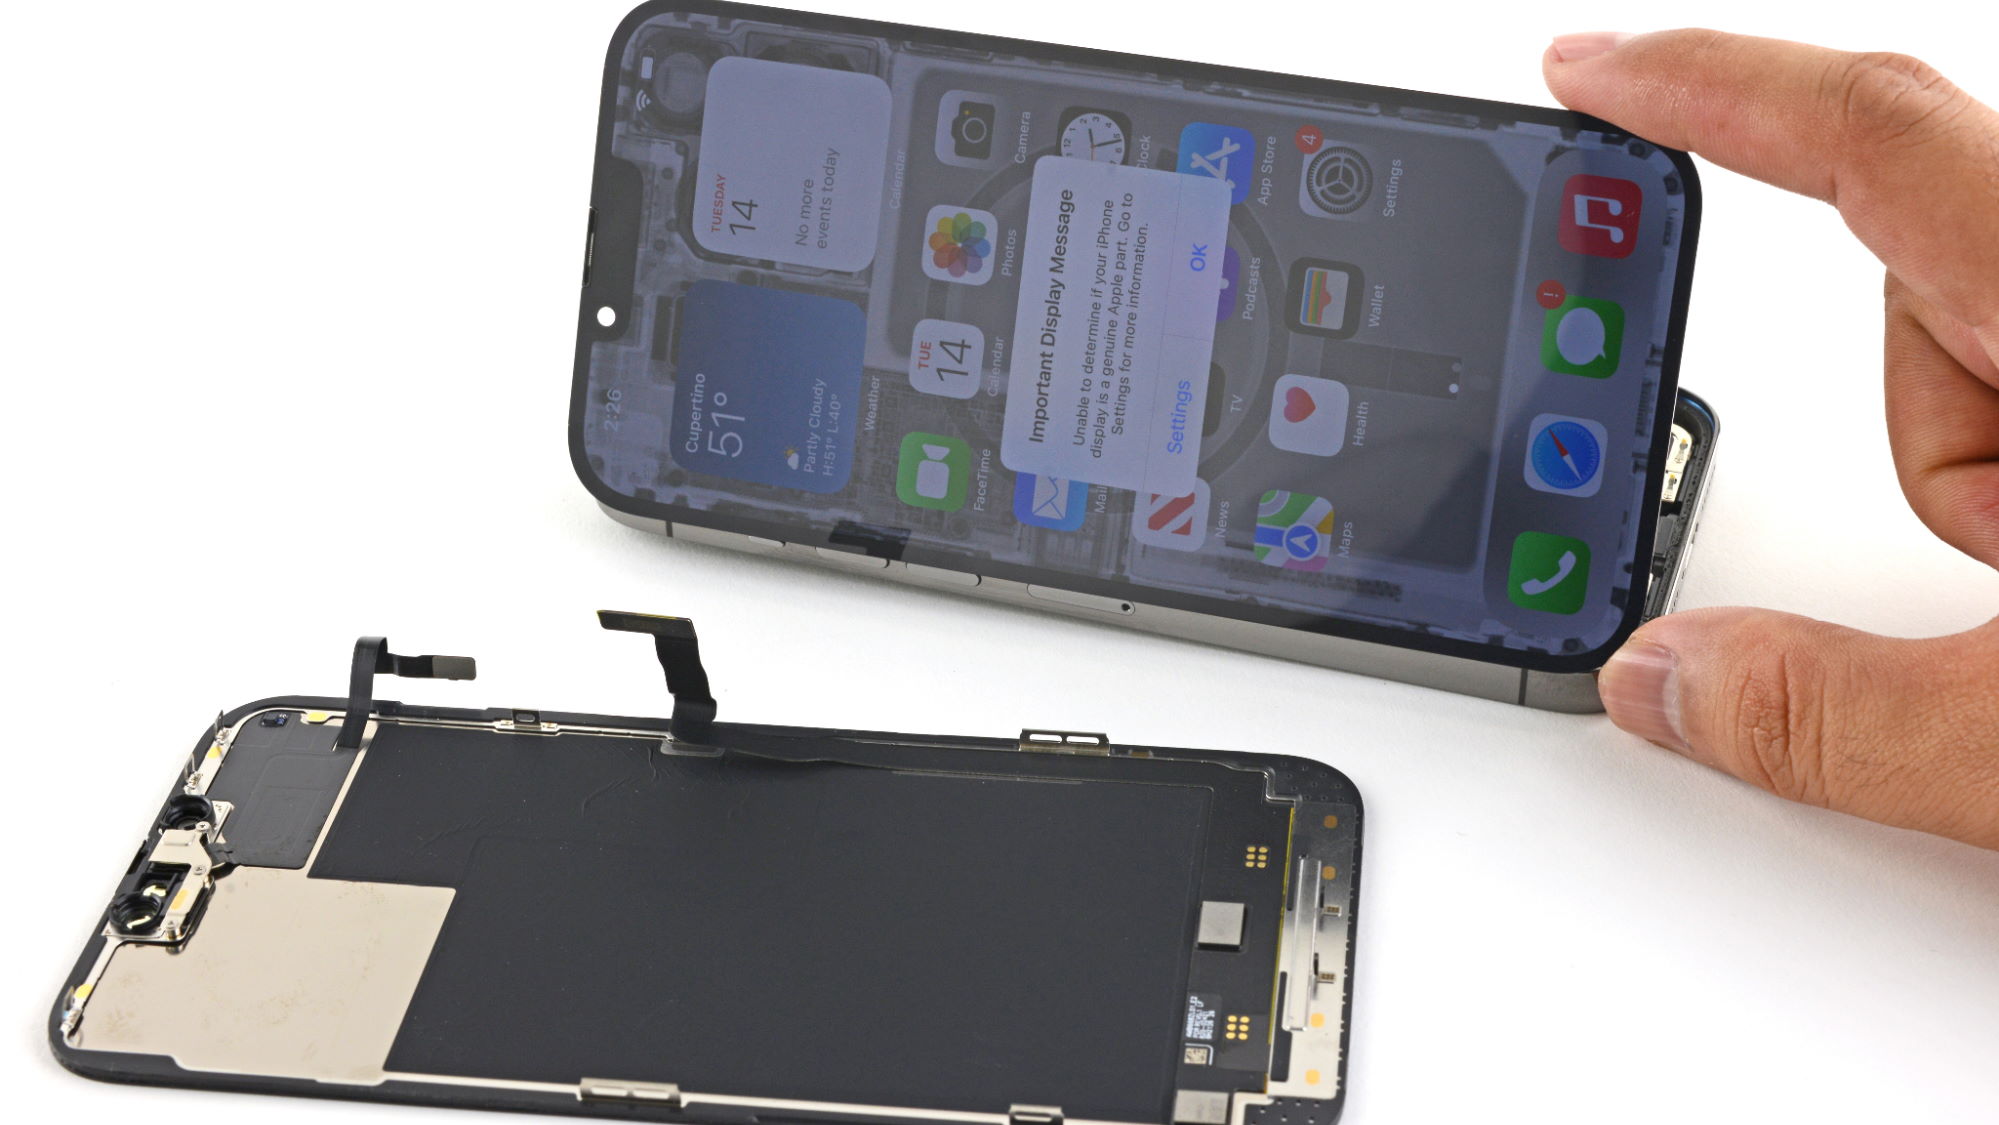
Restoring your phone in DFU mode will be the final solution to fix the Face ID issue
How do I restore my iPhone in DFU mode?
There are two different ways for this purpose:
- First, by making an average recovery over iTunes
- Second, using an Apple USB cable and holding down several buttons simultaneously (home + power + volume down).
- The first method is to connect your device with a PC/Mac via USB cable and launch the iTunes app on the computer. When you see the “iTunes has detected an iPhone in recovery mode” message, click the OK button on the computer’s screen, then click the Restore option. After selecting it, did the backup file created before screen replacement was done on the phone?
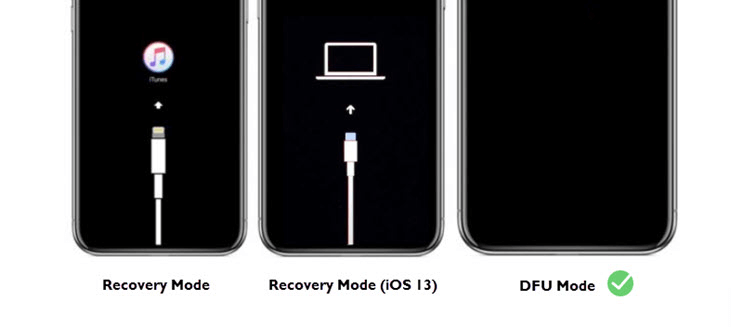
If you have problems with your phone after screen replacement, a complete reset will fix it for sure
If you have problems with your phone after screen replacement, a complete reset will fix it. It would be best if you disabled Find My iPhone and Erase all content and Settings before screen replacement.
Some third-party screens may not work well with Face ID. New screens may contain incompatible parts or shift the camera slightly, so Face ID calibration is needed. Software malfunctioning is also possible.
3 Steps to fix an iPhone 13 Screen Replacement
A broken screen is one of the most common issues with iPhones after some prolonged use. And while most new iPhone models come with a one-year warranty, if your device is broken due to physical damage – you will have to foot the repair bill. Fortunately, fixing a screen is not as complicated as it used to be. You can do it yourself in a few easy steps.
- The first thing you will need to do is put your device into “recovery mode.” Shut down your phone by holding down the Sleep/Wake button at the top of your device for a few seconds until you see “slide to power off.”
- The second step is to press and hold the same button until you see an “Apple” logo appear on your screen. Here you will have to press and hold the Home button for about 10 seconds until the “Connect to iTunes” message appears on your screen. For Mac users, you will find the “Connect to iTunes” option in the “Go” menu. For Windows users, you will find it in the “Start” menu.
- Once you are in recovery mode, open the “Utilities” folder on your laptop/desktop, and launch the “Screen Recording” app. The app will automatically record the process of repairing your iPhone’s broken screen.
3 Tips to Help Fix the Face ID Issue after a Screen Replacement
Before attempting to fix the issue, you should ensure that the problem is related to the broken screen. Here are a few quick things you can do to diagnose the problem.
- Restart your iPhone by pressing the Sleep/Wake and volume down buttons simultaneously.
- If Face ID starts working again, the issue is related to the broken screen, and the solution is pretty straightforward.
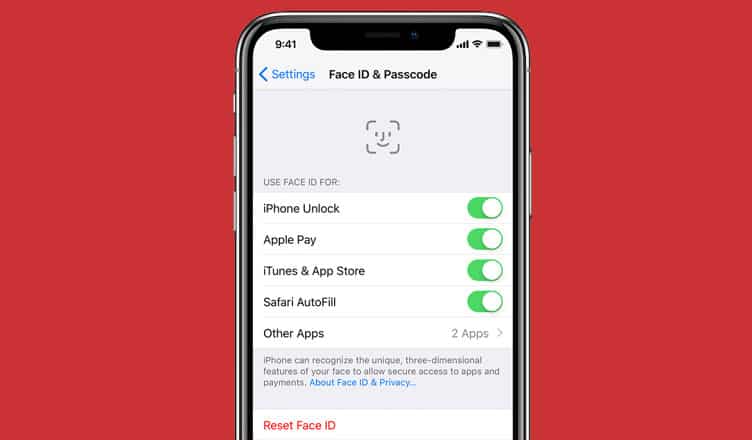
- If restarting your device doesn’t fix the problem, follow these steps to get Face ID working again. First, open the “Settings” app and head to “Face ID & Passwords.” Tap on “Scan Now” to re-scan your face and click on “Continue” to re-enable Face ID on your device.
Conclusion
A broken screen is one of the most common issues with iPhones after some prolonged use. Fortunately, it is also the easiest to fix. If you follow the steps outlined above, you should be able to replace your broken screen easily and get your iPhone up and running in no time. While replacing your device’s broken screen with authentic parts is highly recommended, you can do it yourself if you have the time and the right tools. If you do not have experience handling sensitive electronic equipment, it is best to let the experts take your screen replacement. Find an iPhone repair shop near you and get your device fixed by professionals.
Get your broken device repaired!
Trust iFix to get your mobile device repaired by professional technician. All covered with warranty and our customers feedback says a lot too!
